The boat budget has probably been revised half a dozen different times, so, a new sprayhood was more of a nice to have than a necessity, even though the old one was a horrible faded red. The problem was that looking at our newly painted hull, made the sprayhood look even worse than it had originally done. It annoyed me every time I looked at it, so I decided, after pricing around a bit, that whilst we could not afford to buy a new sprayhood, we could make one.
Whilst I have quite a heavy duty domestic sewing machine (Elna 520 Experience), the trouble is that it was not going to cope with more than 4 layers of acrylic canvas, no matter how big the needle I used, so I ended up picking up a Westminster 671 semi industrial sewing machine. On the whole, it is an ok machine. Not sure I would recommend it though. I think, rather spend more money and get something better. Ideally, you want something with a much longer arm and better foot clearance. When you are sewing large bulky bits of fabric, it is quite difficult to feed it through a small arm gap, even once it has been rolled up. Equally, you need to be able to lift the foot further up, when sewing multiple layers of fabric.
Once we had decided, I was definitely going to go ahead and make a new sprayhood, it was time to template the old one, which meant cutting it up. There was no going back after that! So I hesitantly cut up the old sprayhood and traced the fabric pieces onto brown paper. I then ordered colour swatches of PU coated Acrylic canvas from C&J Marine. I ended up choosing 'Admiral Dark'. The fabric was delivered promptly and was well packaged.
Once the colour was selected, I ordered: 3 metres of the canvas, 1 metre of the clear window material and 1 metre of their Navy PVC (matt finish). C&J Marine were quick with their delivery and well priced. I left the ordering of the Lift-The-Dot® fittings until I had finished the sprayhood.
The next step was to cut out the canvas panels. I ended up doing this on the lounge floor, as it needed maximum space to ensure the panels were sitting flat and that I had maximised the canvas, leaving as little wastage as possible. Even with 3 metres of fabric, it was going to be a tight fit.
Once the canvas had been cut out, it was down to the serious business of sewing up the panels. I broke a few needles as expected, I had to change back and forth between my machines, although I have to say, I ended up using my Elna far more than I did the Westminster. I ended up mostly using a size 18 Jeans needle on the canvas and a Size 16 leather needle on the PVC grab section and on the windows. I also had to use the walking foot, to ensure the layers of canvas, pvc and plastic were fed through at the same rate. There were some sections, which were just so awkward to sew due to the fabric having to be held up to stop the weight dragging on the feed dog and....and of course, by the end of it, my shoulders were absolutely killing me. The other issue was that the plastic windows kept on sticking to the machine, so I ended up sticking masking tape all over the bed of the machine to move the panels along a bit easier.
There are still a few Lift-The-Dot® fittings that need to be positioned to properly tension the hood but other than that, it seems to have worked out better than expected.
The point is, I did it and it looks good. Would I do it again? NO!! Absolutely not. The £800 (base price) one would pay is definitely worth it. The only way I would attempt this again, is if I had a serious industrial machine.
Genesis basically has a build up of 30 years of anti-fouling and judging from what I have, seen a lot of it was never stripped off. In the process of stripping back the layers, I have come across various shades of red, blue, grey and white. Some of it hard and brittle and other layers soft.
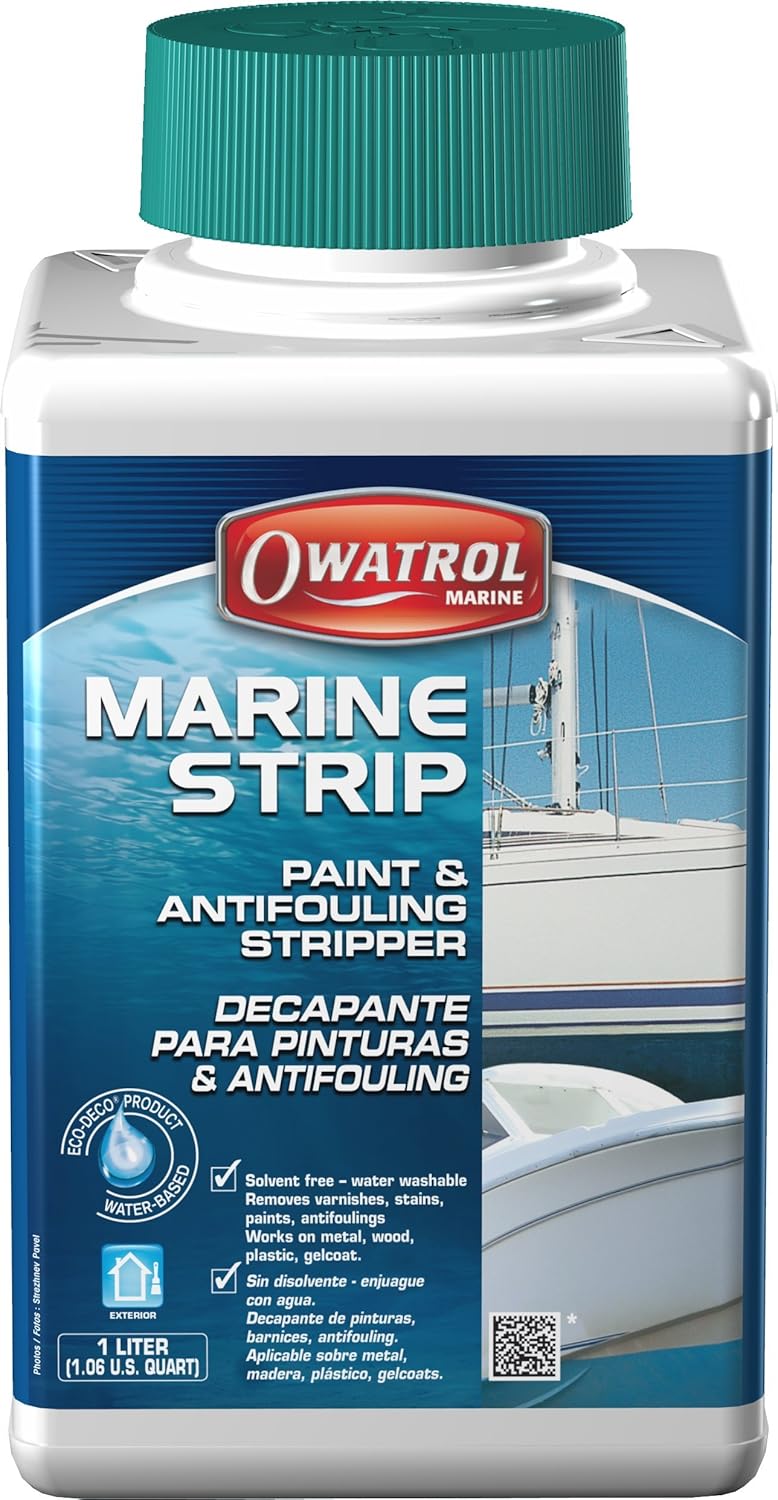
Initially, I started the process using 'Owatrol Marine Strip', which was not very effective. In fact, it had these large crystals in it which just didn't seem to dissolve in the solution. I assume it was undissolved caustic soda. Anyway, it didn't perform very well.
For the next round of anti-fouling remover, I tried 'Strippit'. Ironically, this was actually cheaper than the Owatrol. There were no undissolved crystals in it and it seemed to manage to remove 3 to 4 coats of anti-fouling paint at a time. Nowhere near what they claim it will do but a dam sight better than the Owatrol Marine Strip.
I ended up using 2 x 5 litre tubs of the 'Strippit' in addition to the Owatrol. Not an awful lot of fun, especially trying to do the section that butts up to the keel. All in all, I must have removed at least 10 to 15 layers. I have not quite got back to the gel coat but as Genesis is a gin and tonic cruiser as opposed to a racing boat, it will have to do.
One thing I will say, is be very careful not to get any stripper on your skin. I managed to get a small amount on the inside of my knee and it burned like stinging nettles and I have a lovely looking red patch left as a result.
The VHF radio in the boat is a DSC radio which for the uninitiated means "digital selective calling". In layman's terms you can call up another DSC radio if in range by keying in their MMSI number (a bit like a mobile phone number for radios). One of the features of DSC radios is the ability to transmit position if connected to an appropriate GPS receiver.
I like the idea of having an independent GPS on board in case something happens to the chart plotter. As the VHF in mounted at the chart table, it's handy having the position indicated all the time.
The radio, an Icom IC-M411, needs a NMEA 0183 feed from an external GPS receiver to function according to the manual. I found one of these on Amazon; it's an external GPS receiver that delivers the appropriate electronic string that the radio understands.
It needs a 12V feed to power it and after a bit of research to understand the wiring, it hooked up OK and bingo - position data on the VHF.
The Icom manual gave the wiring connections as "NMEA+ & NMEA-" The GPS receiver was labelled as RS232 wiring with 6 naked wires half of which aren't required. Apparently the NMEA signal voltage levels are similar but not identical to those used is RS232 networks. The main difference being that the NMEA standard uses a fluctuating voltage from positive to negative to differentiate between signals whereas RS232 uses a positive voltage and 0V to differentiate.
The transmit (Tx) wire from the GPS gets connected to the NMEA+ and the signal ground (or shield) to the NMEA-
I routed the wire through the pushpit rail by drilling a hole at the top and bottom and using rubber grommets to protect the cable.
A little off topic I know, but we walked past this abandoned car when down in Southampton for our VHF operators course.
I wonder if the traffic warden ever figured it out? Go on, stick another one on it!
One of the items on the wish list is hot pressurised water. Ideally I want the water heated by the engine whilst away from the marina and then connected to the mains when back at base.
I haven't come across any upgrades using our particular model of engine (Volvo MD5C) and information on the water flow circuitry is sketchy at best (and I have the workshop manual!).
The thermostat housing is fed by raw water from the pump and then the water appears to take two paths, one feeds the engine block and the other the exhaust manifold. There is a separate feed to the exhaust muffler. Posts I've come across reckon that "smaller" marine diesels don't provide enough heating to warm the water adequately and a number of posts I've found talk about a bypass feeding the exhaust which diverts valuable hot water away from the heating duty.
It was not clear from an external inspection of the thermostat housing whether there was a bypass in place, so I pulled it off to have a look.
In the photo you can see a small hole in the center of the thermostat housing which allows some cold water to flow directly to the exhaust manifold. When the engine is warm and the thermostat open, the path of least resistance for the cooling water is through the engine block and into the port feeding the exhaust.
It was a good idea to pull off the thermostat housing as I found an old impeller blade jammed in there. I guess it had broken off and one of the previous owners hadn't gone looking for it.
Whether there will be enough heat to warm the water remains to be seen. I'll update this post once fully installed.
Update 1 - I've decided to buy a temperature gauge and sender so that I can monitor the engine temperature rather than relying on the standard set up which is an alarm when the engine is overheating!